
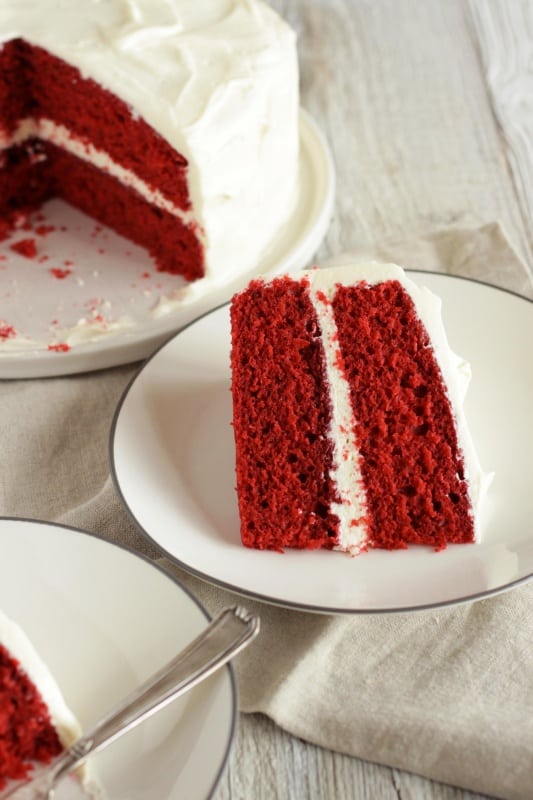
There are a few Red Velvet creations on the blog already but this traditional Red Velvet layer cake is so easy and perfect that it deserves a post of its own. It is the best! It is a gorgeous dessert and every person who tries it is infatuated.
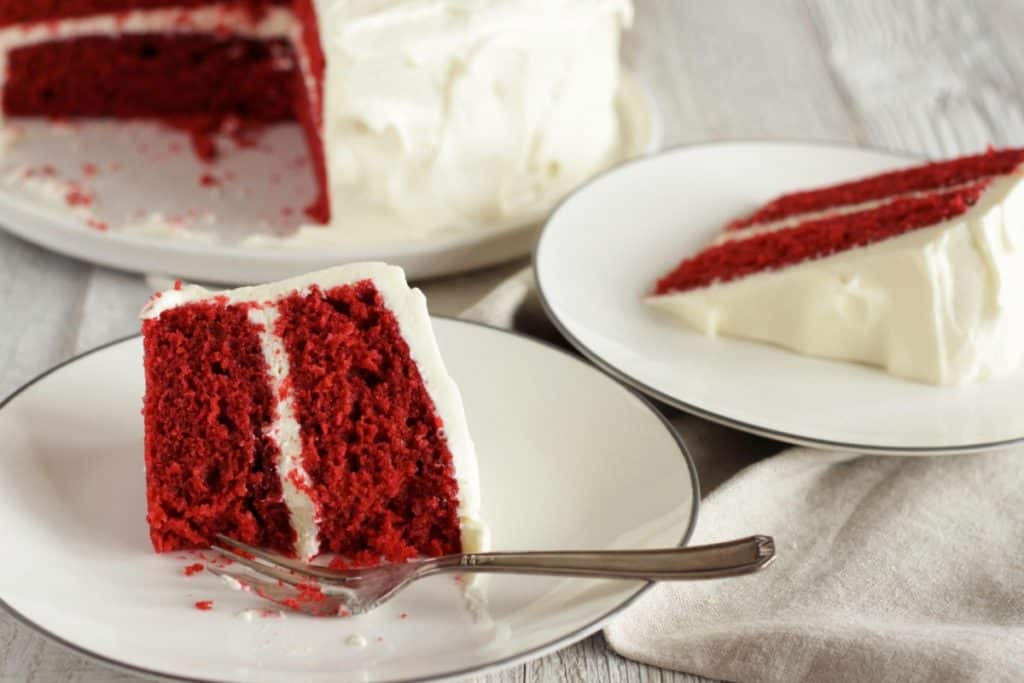
What is “red velvet” exactly? Red velvet refers to the deep red color, obviously, but also to the moist and tender, velvety and tight structure of the cake. Equally as important as the texture and color are the trio of vanilla, chocolate and buttermilk flavors, which are further enhanced with a teaspoon of vinegar. The subtle but distinctive buttermilk tang is what sets Red Velvet Cake apart from classic vanilla and chocolate cakes.
This Red Velvet Cake is very easy to make. Sift together the dry ingredients, beat the wet ingredients with a hand mixer and combine. Not even a boxed mix is easier.
What kind of food coloring can I use?
You can use whichever red food coloring you have! Gel food coloring is more concentrated than liquid so you don’t have to use as much, but liquid food coloring is fine too. Powdered food coloring is very concentrated, so start with just a little bit. Using a natural food dye like beetroot powder or a DIY beet juice concentrate is definitely fine as well!
No matter which food coloring you are using, I suggest you dissolve the food coloring in the liquid ingredients, adding a little at a time and stirring until you are happy with the shade of red.
Which frosting or icing is better: Cream Cheese Frosting or the original, Heritage Frosting?
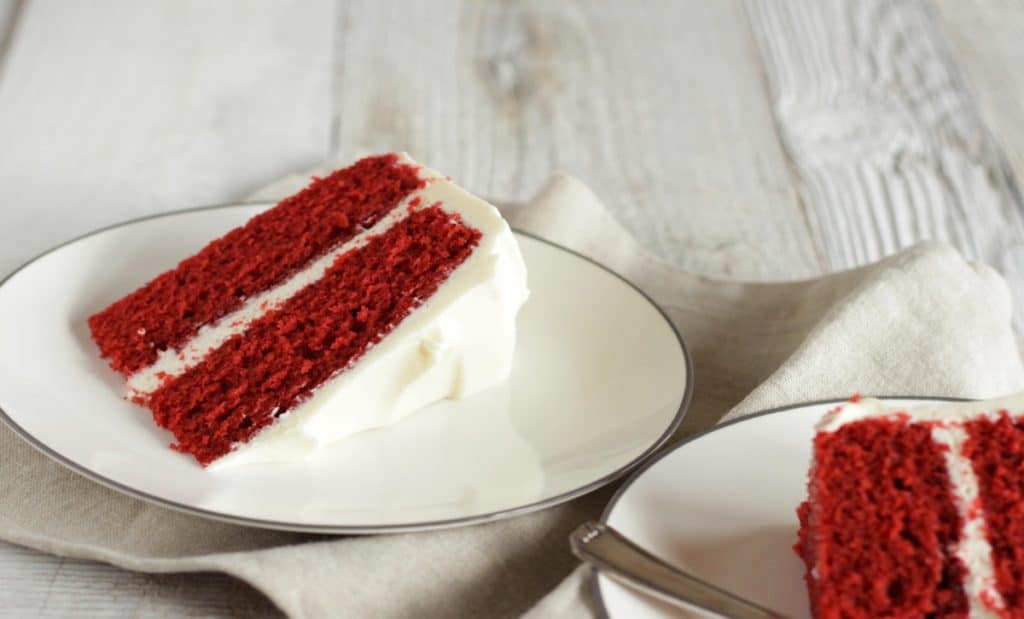
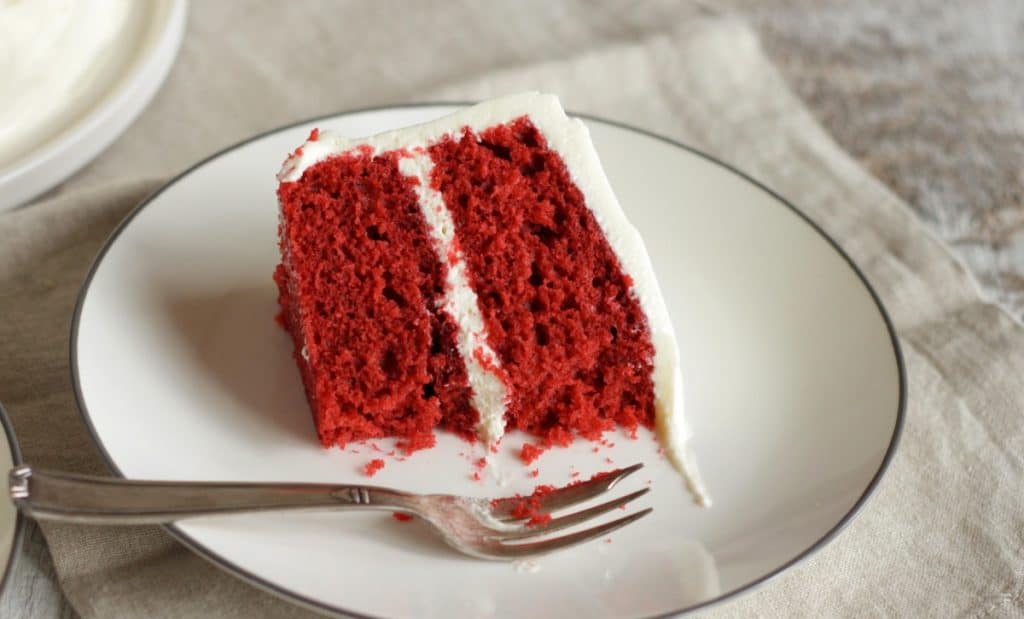
The jury is out on this question and I can’t give you the definitive answer either. Both white frostings look stunning in contrast with the Red Velvet Cake and complement its flavors beautifully. It’s really down to a matter of personal preference. I will always choose Cream Cheese Frosting because I adore it but the original Red Velvet Frosting is truly amazing as well.
The cake in the photos was frosted with my Cream Cheese Frosting using European cream cheese, which is a cream cheese spread. If you live in the U.S. and have access to brick cream cheese, I recommend you use a traditional Cream Cheese Frosting recipe. Here is a post explaining the difference and my method for making Cream Cheese Frosting using cream cheese spread, but it also laid out for you in the recipe below. Cakes frosted with Cream Cheese Frosting must be kept chilled.
I am including the recipe for Original Red Velvet Frosting (aka Heritage, Whipped, Boiled, or Ermine Frosting) below as well. Original Red Velvet Frosting is made by heating a flour and water mixture on the stove until it turns into a thick paste, which is then cooled and added to whipped butter and sugar to make a silky and airy vanilla icing which is beyond compare. If you can’t keep the cake chilled then you should frost it with the Original Red Velvet Frosting.
One last thing before we begin: I highly recommend you bake and frost the cake a day ahead. Allowing the frosted cake to stand in the fridge does wonders for its flavor and texture. Red Velvet Cake gets better with each day that goes by!

Red Velvet Cake
Ingredients
Red Velvet Cake
- 2 ½ cups (350 g) all-purpose flour
- 1 ½ cups (300 g) granulated sugar
- 1 teaspoon baking soda
- 1 teaspoon salt
- 2 tablespoons cocoa powder
- 1 cup (240 ml) vegetable oil
- 1 ¼ cup (300 ml) buttermilk
- 2 eggs
- 2 tablespoons liquid or ½ ounce (14 g) red gel food coloring
- 1 teaspoon vinegar
- 1 teaspoon vanilla extract
Cream Cheese Frosting
- 1 cup plus 2 tablespoons (250 g) butter room temperature
- 5 ½ cups (600 g) sifted powdered sugar
- 1 teaspoon vanilla extract
- 10 ½ ounces (300 g) cream cheese spread full fat
Instructions
For the Red Velvet Cake:
- Preheat oven to 350°F (170°C). Grease and flour two 9-inch (23 cm) round baking pans and line bottoms with parchment paper.
- In a medium bowl, sift together flour, sugar, baking soda, salt and cocoa powder and set aside.
- In a large mixing bowl using a hand-held electric mixer, gently beat together the oil, buttermilk, eggs, food coloring, vinegar and vanilla. Add the sifted flour mixture and mix until smooth and thoroughly combined. Pour batter into prepared pans.
- Bake for 24-30 minutes, until toothpick inserted in center comes out clean or with moist crumbs attached.
- Cool in pans on a wire rack for 10 minutes, loosen edges of cake from sides of pans, invert cakes onto wire racks and peel off parchment paper. Allow cakes to cool completely.
- For best results, wrap cake layers with plastic wrap and chill for at least two hours before frosting. (Or they can be frozen for up to two months.)
For the Cream Cheese Frosting:
- Beat the butter in the bowl of a stand mixer on high speed until light and fluffy. Add the powdered sugar, one third at a time, and beat on high speed for several minutes until mixture is light and creamy. Scrape the bowl and repeat the process until all of the powdered sugar is well incorporated. You should now have a very stiff buttercream.
- Beat in vanilla. Add the cream cheese and beat on high for a couple of seconds to incorporate. Scrape bowl and beat on high again for a couple of seconds.
To assemble:
- Place bottom cake layer on a platter and spread with about one cup of frosting. Place the second cake layer on top and cover top and sides of cake with a thin layer of frosting. This is your crumb coat. It’s ok if cake crumbs get into it, just be careful not to get the crumbs in your bowl of frosting. Chill the cake for 30 minutes to set the crumb coat.
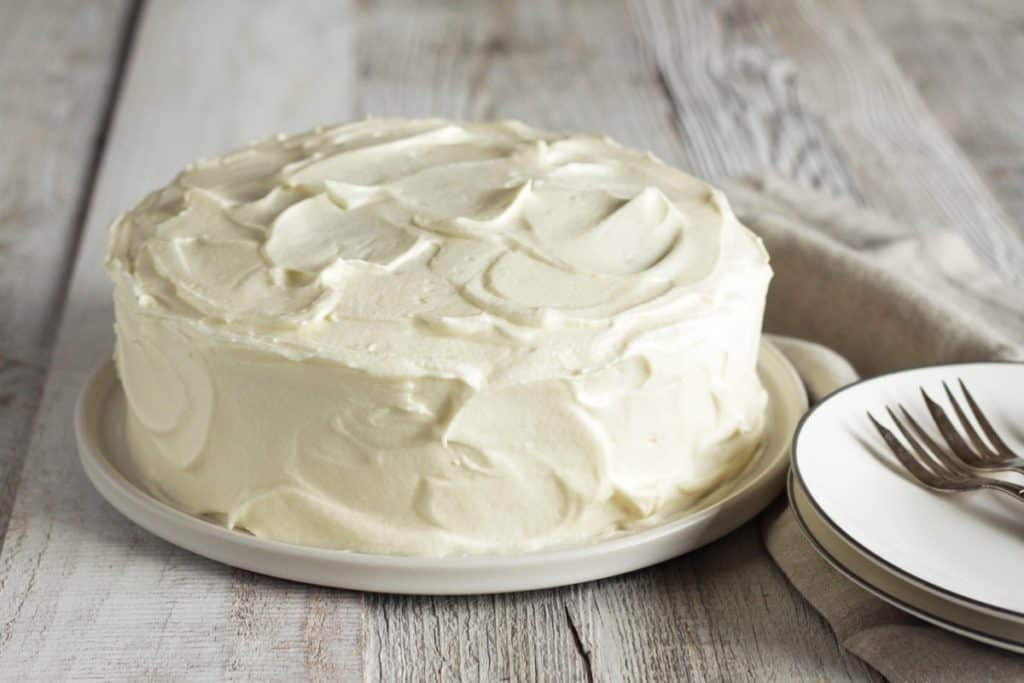
- Generously apply the second layer of frosting to the top and sides of the cake and scrape it smooth with a cake scraper, large palette knife or offset spatula. To achieve the rustic look in the photos, after smoothing the top and sides, make large (but not too deep!) swoops in the frosting with a palette knife or offset spatula held parallel to the cake.
- Store cake in a cake keeper in the refrigerator for up to four days.
Notes
Nutrition

Original Red Velvet Frosting
Ingredients
- 6 tablespoons (50 g) all-purpose flour
- 1 cup (240 ml) water
- 1 cup (225 g) butter room temperature
- 1 cup (200 g) granulated sugar
- 1 teaspoon vanilla extract
Instructions
- Whisk together flour and water in a medium saucepan and cook over medium heat, stirring constantly, until the mixture becomes a thick paste. Cover and set aside to cool to room temperature (2 hours).
- Using a stand mixer fitted with the whisk attachment, beat butter, sugar and vanilla on high speed, scraping bowl with a rubber spatula occasionally, until lightened. Add the cooled flour mixture and beat on high until very fluffy. It should have a light and silky texture with no remaining sugar crystals.
- If frosted with Original Red Velvet Frosting, the cake doesn’t need to be chilled but should be eaten within a couple of days.
Maria Overmeer
H, I am going to bake this but would like to make a 6 inch layer cake. Any idea how to scale the recipe and cooking time? Thanks ☺️
Krista
Hi, if you halve the recipe, I’m guessing the cake layers will be in proportion to the cake in the photos. In that case, I would start checking the cake for doneness at 19 minutes. Hope that helps! 😊
Maria Overmeer
Thanks so much ☺️
Unathi
Baked this for my little sister and it tasted really good.
Krista
I’m happy to hear that, Unathi! ☺️
Dawn
I followed the recipe to the letter used extra strong red gel colour... Why is my cake brown ?
Krista
Hi Dawn, I would recommend using gel food coloring, like Wilton or Rainbow Dust brands. The batter should have the intensity of red you want before baking. It won’t get redder while baking.
Ronak Mehta
Baked this cake for my birthday and it was an absolute hit! So moist and tasty. Thank you for doing what you do