

An elastic pie crust that doesn’t tear, is easy to work with, and always comes out perfectly. This is the best and most delicious crust for any kind of pie – fruit pies and sweet pies or for quiches and pot pies.
I used to get so frustrated with pie crust recipes. Either the dough didn’t come together or, when it did, it would rip and break apart when I attempted to roll it out. Buttermilk Pie Crust is much easier to make and to work with than other pie crust recipes. The buttermilk makes the dough stretchy and the crust tender and flaky. This recipe is for two crusts, so it is the right amount for one two-crust pie or for two single-crust pies.
I have broken down the steps for you in this tutorial with lots of pictures and I hope it gives you the confidence to try making your next Pie Crust from scratch.
If you don’t have a 9-inch pie plate, you can use baking pans or tart pans of similar size or try making mini-pies in soufflé dishes or muffin tins, reducing the baking times accordingly.
Let's get started. In the first picture you can see everything you need to make the dough. In the upper left, you see my bench scraper, which comes in handy for scraping the dough off the counter, sliding under the pie crust when you're rolling it out and also for dividing dough. Beneath that, in the lower left, is my pastry cutter, it makes very quick work of cutting the butter into the flour without letting the butter get warm or making it warm with your fingers. You want the butter and margarine to stay cold. The teaspoon represents the oil; you will need two teaspoons of oil. Later on, you will also need a rolling pin and your pie plate or tart pan. I describe all the individual steps in the recipe below.


Buttermilk Pie Crust
Ingredients
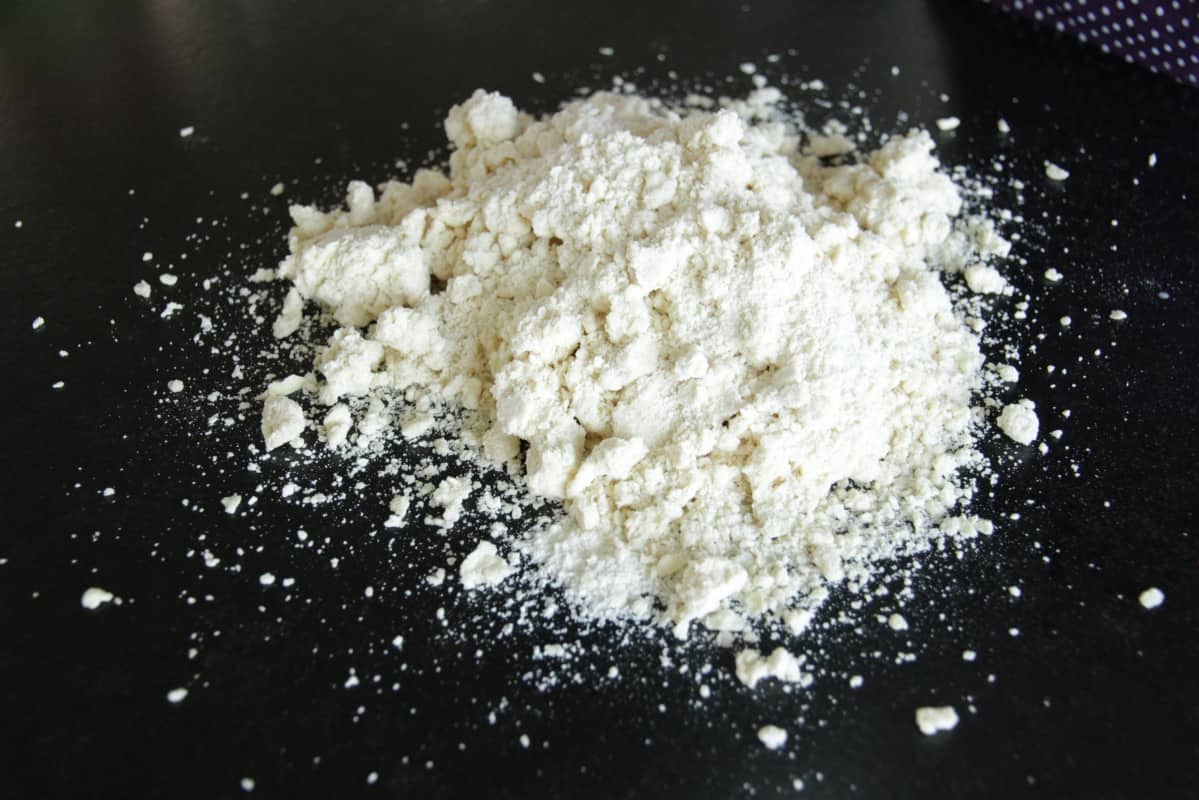
- 2 cups (280 g) all-purpose flour
- 1 teaspoon salt
- ⅔ cup (150 g) cold margarine cubed
- 3 tablespoons (42 g) cold butter cubed
- 2 teaspoons vegetable oil
- ⅓ cup (80 ml) buttermilk
Instructions
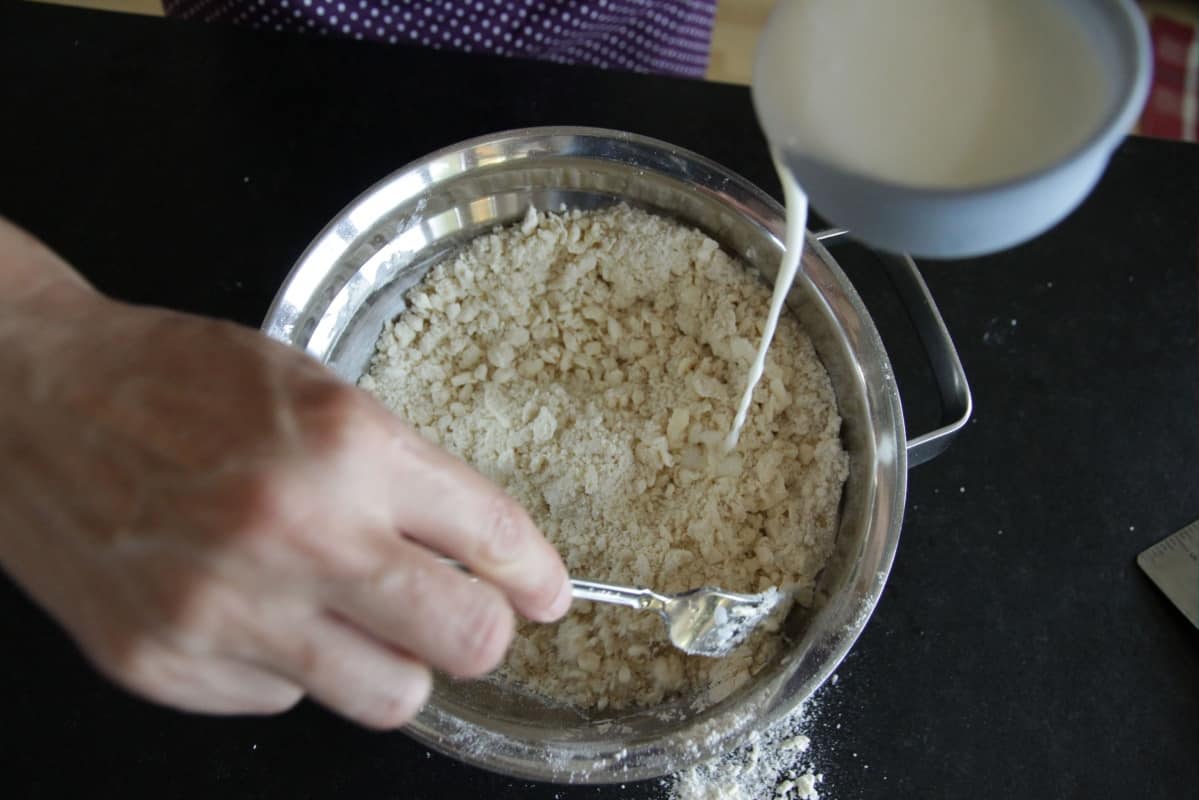
- Stir flour and salt together in a large bowl. Using a pastry blender, knives or your fingers, cut in margarine and butter until clumps are the size of small peas.
- Drizzle in oil and buttermilk, stirring with a fork.
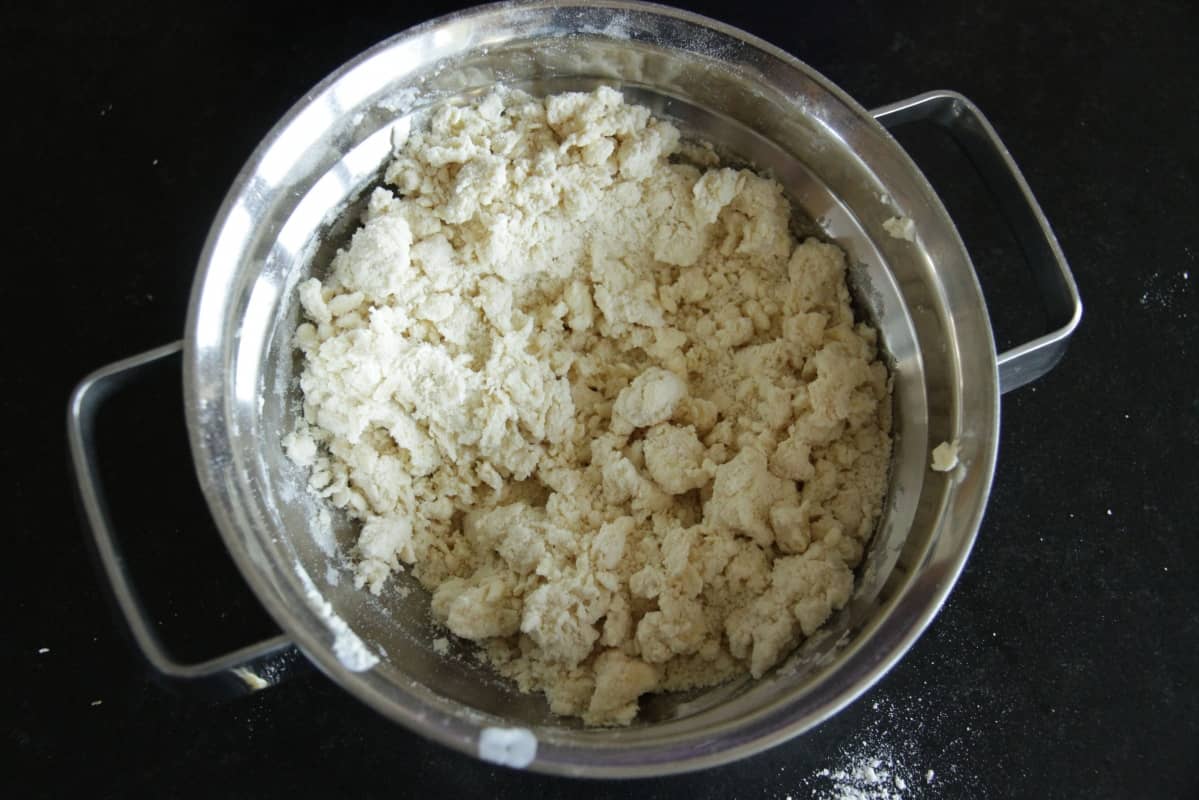
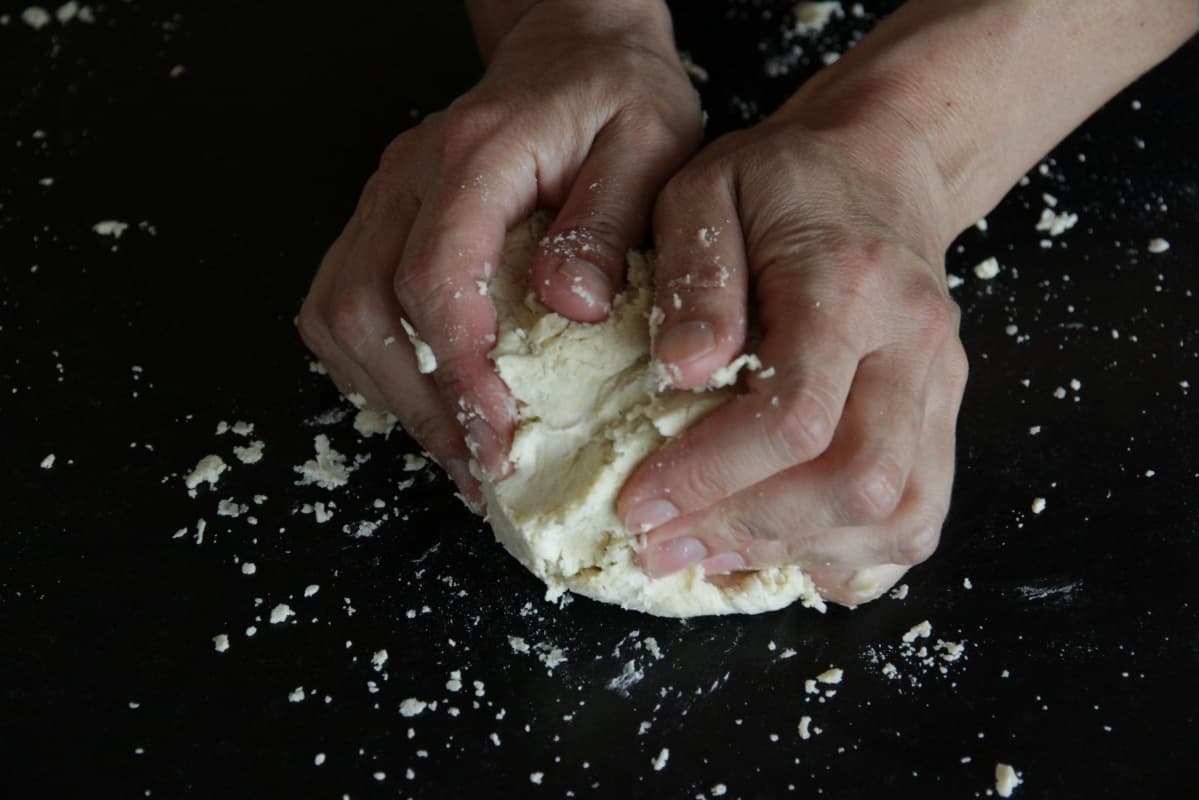
- Turn dough onto work surface and gently bring dough together with your hands, kneading only until you can shape it into a ball. Dough should appear somewhat rough and streaked – this ensures it will be tender and flaky. Cut the dough ball in half and wrap each half in a disk shape in plastic wrap and place in refrigerator to chill for 30-60 minutes. If making one single-crust pie, freeze the other dough disk in a zip-lock bag for the next time you make pie.
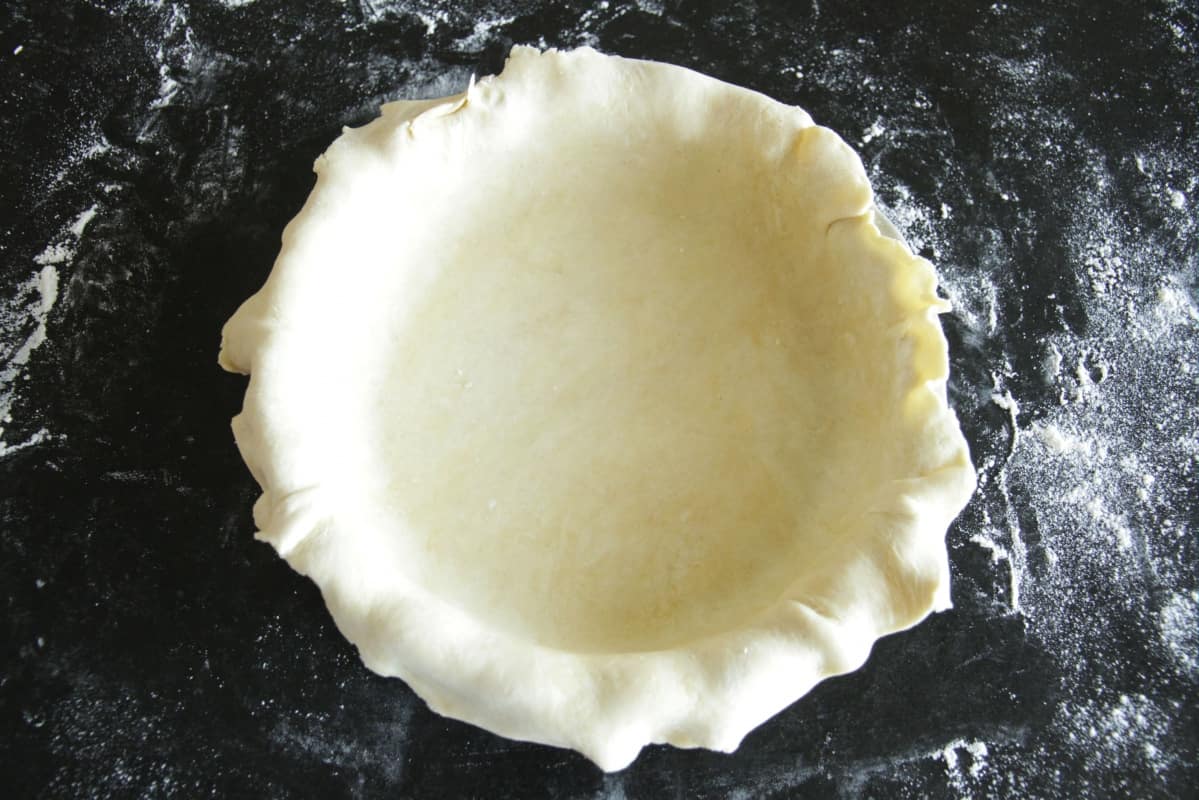
- Roll pastry on a well-floured surface with a floured rolling pin, rolling from center to outside edges in all directions. Turn pastry clockwise often to make sure it isn’t sticking to surface and use more flour if necessary. When dough circle is large enough to line bottom and sides of tart pan or pie plate, roll pastry around rolling pin and transfer it to the pan. Unroll pastry over pie plate or tart pan and ease it down the sides to make sure it is covering bottom and sides without being stretched. Using clean kitchen shears, trim overhang to about 1 inch (2.5 cm) and use scraps to patch any areas where there is too little dough coverage, pinching the dough into place. Fill pie shell and, if making a two-crust pie, roll out second pastry and lay it over top of pie and trim overhang to 1 inch (2.5 cm).
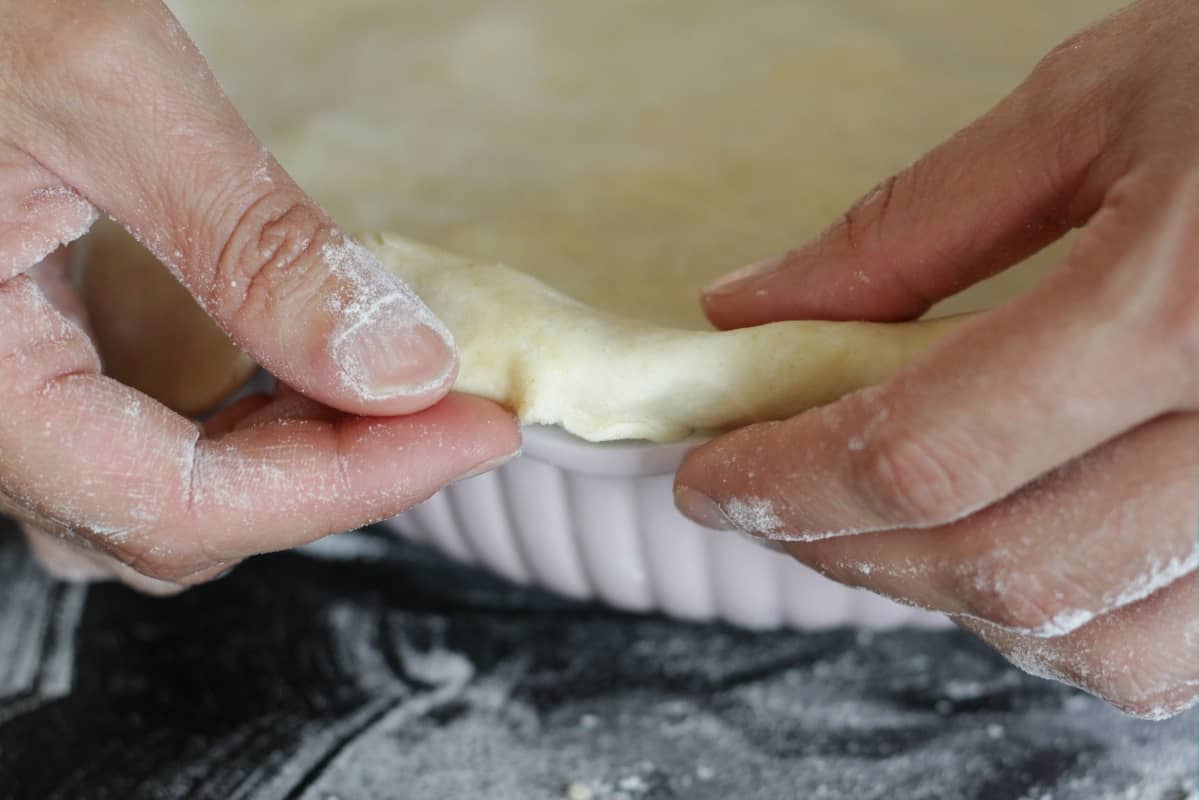
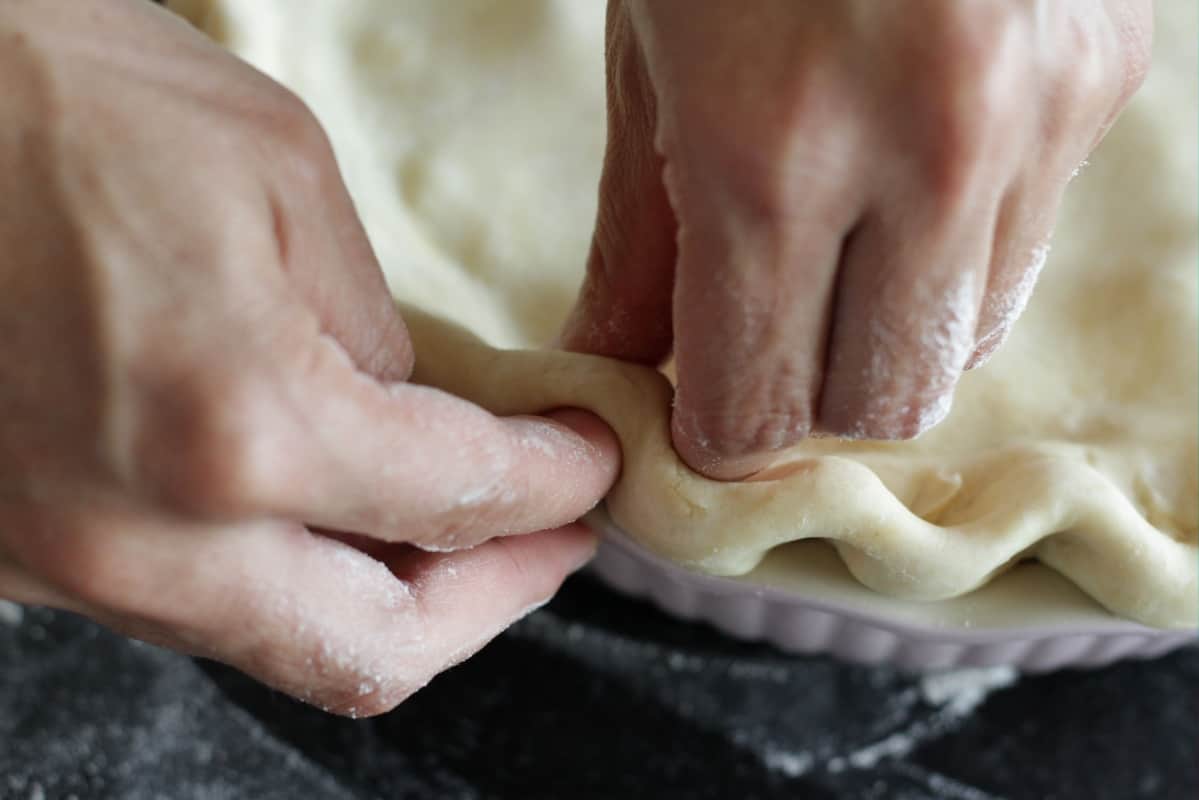
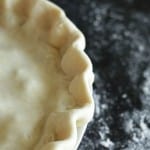
- Fold edges under, and press dough edges together with your fingers all around the pie plate, building up a rim. Pinch a fluted pattern into the edges all around the rim of pie. Bake according to directions in pie recipe.
robin @ thebakingexchange
Krista, great tutorial, all those pictures! I love making pie crusts from scratch. I bought a class on Craftsy a while ago on how to make pies super flaky, wanting to learn even more, but still haven't gotten the time to watch it. Buttermilk is a good idea also for a crust.
Krista
Thank you, Robin! 🙂 I'd love to hear some of your tips on pie crust. Hopefully you can share what you learn with us!